Tips on Uploading a Brand Image
Introduction
Your brand image is crucial for attracting buyers to your storefront and showcasing your products. This article provides tips on selecting and uploading an effective brand image.
Table of Contents
Choosing the Right Image
Selecting Your Brand Image
Your brand image should be a square, high-quality image representing a product or a collection of products that best reflects your brand. It is recommended to change this image regularly to showcase your current or best product line.
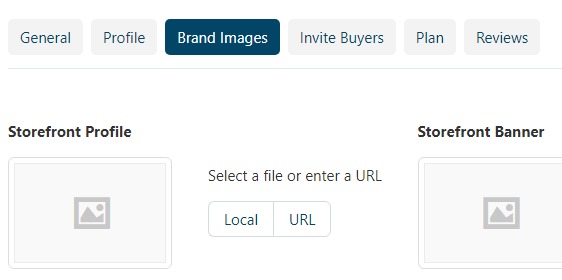
Uploading Your Brand Image
You can assign photos to your storefront in the “Brand Images” tab. To access this, click on “My Storefront” and then select “Brand Images” from the navigation bar.
Best Practices for Brand Images
For your Maker storefront banner, we recommend a size of 1240 × 380 pixels to ensure optimal display.
Conclusion
Choosing and uploading the right brand image is essential for attracting buyers and enhancing your storefront’s appeal. Regularly updating your image will keep your storefront fresh and engaging.
Frequently Asked Questions (FAQ)
-
Q: What type of image should I use for my brand?
A: Use a square, high-quality image that represents your products or brand effectively. -
Q: How often should I change my brand image?
A: It’s best to change your brand image regularly to showcase your current or best product line. -
Q: What is the recommended size for the storefront banner?
A: The recommended size for the storefront banner is 1240 × 380 pixels. —
For more articles, visit our Support Center.